Adding custom fields to purchase orders and expense claims
Turbine lets you add your own custom fields to your expense claims and purchase orders. This article explains how to set that up.
- Log into Turbine using an admin user account. Regular users can't access the relevant Settings page.
- Select Purchases and Expenses on the Settings menu.
- Scroll down to the Additional fields section.
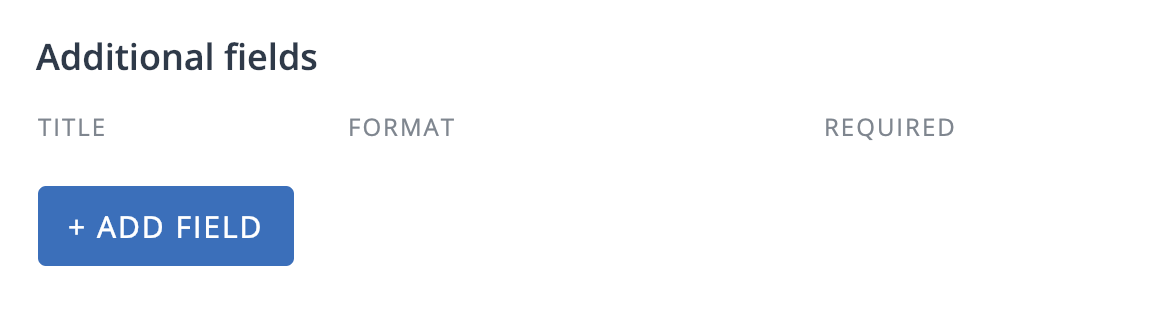
- Click Add field to add a new field.
- Enter the Title for the field (e.g. 'Delivery date' or 'Reason for purchase').
- Select the type of field you want. The choices are: 1) String which is text field for entering regular text like names or descriptions, 2) Date which is a calendar date picker and 3) Dropdown, where you can give users a selection of different options to choose from in a drop-down menu.
- If you select a Dropdown, click on Add variant to add the different options on the menu.
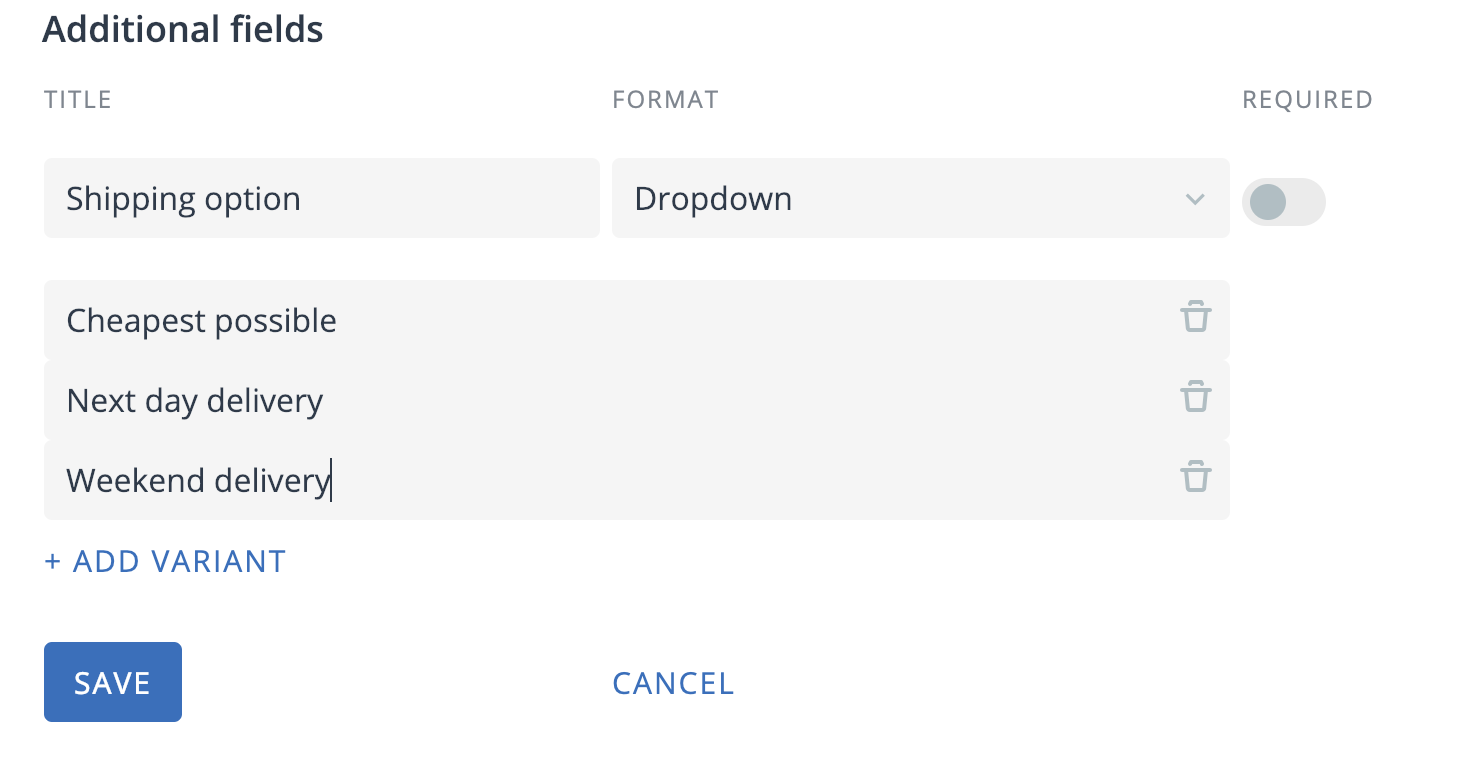
- You can make an additional, custom field mandatory by clicking the Required slider on. If you do this, people will not be able to submit a request without completing this field.
- When you have finished configuring the additional field, click Save.
Once you have gone through this procedure, your new fields will be added to purchase requests and expense claims in Turbine.
To delete an additional field, just click the trash can icon by that field. Note that deleting a field deletes all the data in all requests stored in that field. It is irreversible so delete fields with care.
To edit a field, for example to change the name, just click on the little pencil icon by that field.